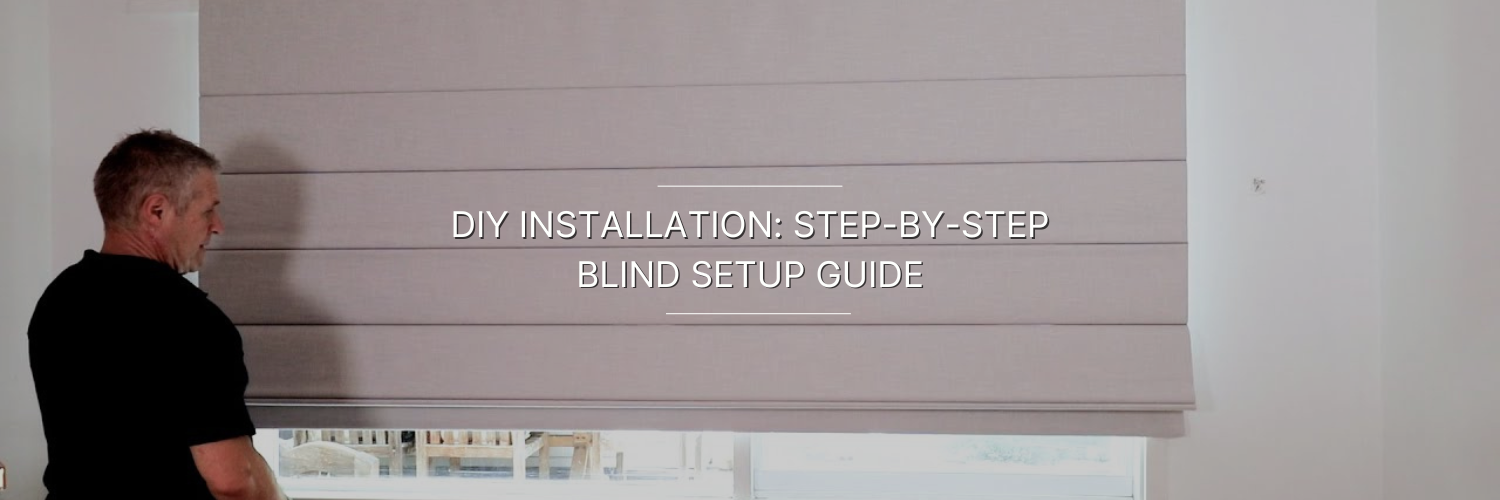
Installing blinds may seem like a task best left to professionals, but many modern blinds are designed for simple, straightforward installation. With the right tools, careful measurements, and a bit of patience, you can set up blinds on your own and achieve a clean, finished look. A proper installation not only improves how the blinds function but also ensures better light control and durability.
This guide walks through the basic steps to help you install blinds correctly.
Step 1: Measure the Window Carefully
Accurate measurement is the most important part of blind installation. Decide whether you want an inside mount or an outside mount. Inside mounts sit within the window frame and offer a neat, minimal look. Outside mounts cover the window frame and are useful when you want better light blocking or when window depth is limited.
Measure the width and height in at least three places and use the smallest measurement for inside mounts. This helps avoid gaps and uneven fitting.
Step 2: Gather Tools and Check Components
Before starting, make sure all parts are included. Most blinds come with brackets, screws, and mounting hardware. You will typically need a measuring tape, drill, screwdriver, pencil, and a level.
Lay everything out before installation. This saves time and avoids interruptions once drilling begins.
Step 3: Fix the Brackets
Mark bracket positions using a pencil and level to ensure they are aligned evenly. Secure the brackets firmly into place. If mounting on drywall, use wall anchors for added strength. Properly fixed brackets ensure the blind operates smoothly and stays secure over time.
For inside mounts, brackets are fixed inside the window frame. For outside mounts, they are fixed above or around the window opening.
Step 4: Install the Blind
Once brackets are in place, slot the blind headrail into the brackets as per the manufacturer’s instructions. Most systems click or lock into position easily. Gently test the blind by raising and lowering it to ensure smooth movement.
If you are installing motorised blinds, ensure the power source is connected and test controls before final adjustment.
Step 5: Adjust and Test
Check alignment and operation. The blind should sit straight, move smoothly, and stop evenly at the bottom. Make small adjustments if needed. Clean up any dust from drilling and ensure cords or controls are neatly placed.
Conclusion
DIY blind installation is a practical way to upgrade your home with confidence. When measurements are accurate and steps are followed carefully, blinds function better and last longer. A well-installed blind improves light control, privacy, and comfort while giving windows a clean, finished look. With a little preparation, setting up blinds can be both simple and rewarding.
